If your account does not display a LEADTRACE button in your FILTERS page or within the MY LEADS button, then your account has our Unlimited LeadTrace option. What this means is you will be able to request the Traced Details, phone #'s and email addresses by DOWNLOADING your list.
This is a 2 step Process:
Step 1. Export the list & Download on your computer
Step 2: Import the list into the CRM
Step 1: Exporting a List & Download on your computer:
You will begin the process by filtering your list. You can start your search from the left navigation toolbar by clicking LEADPIPES > PROPERTY LEADS
- HERE'S an article that will walk you through filtering a list
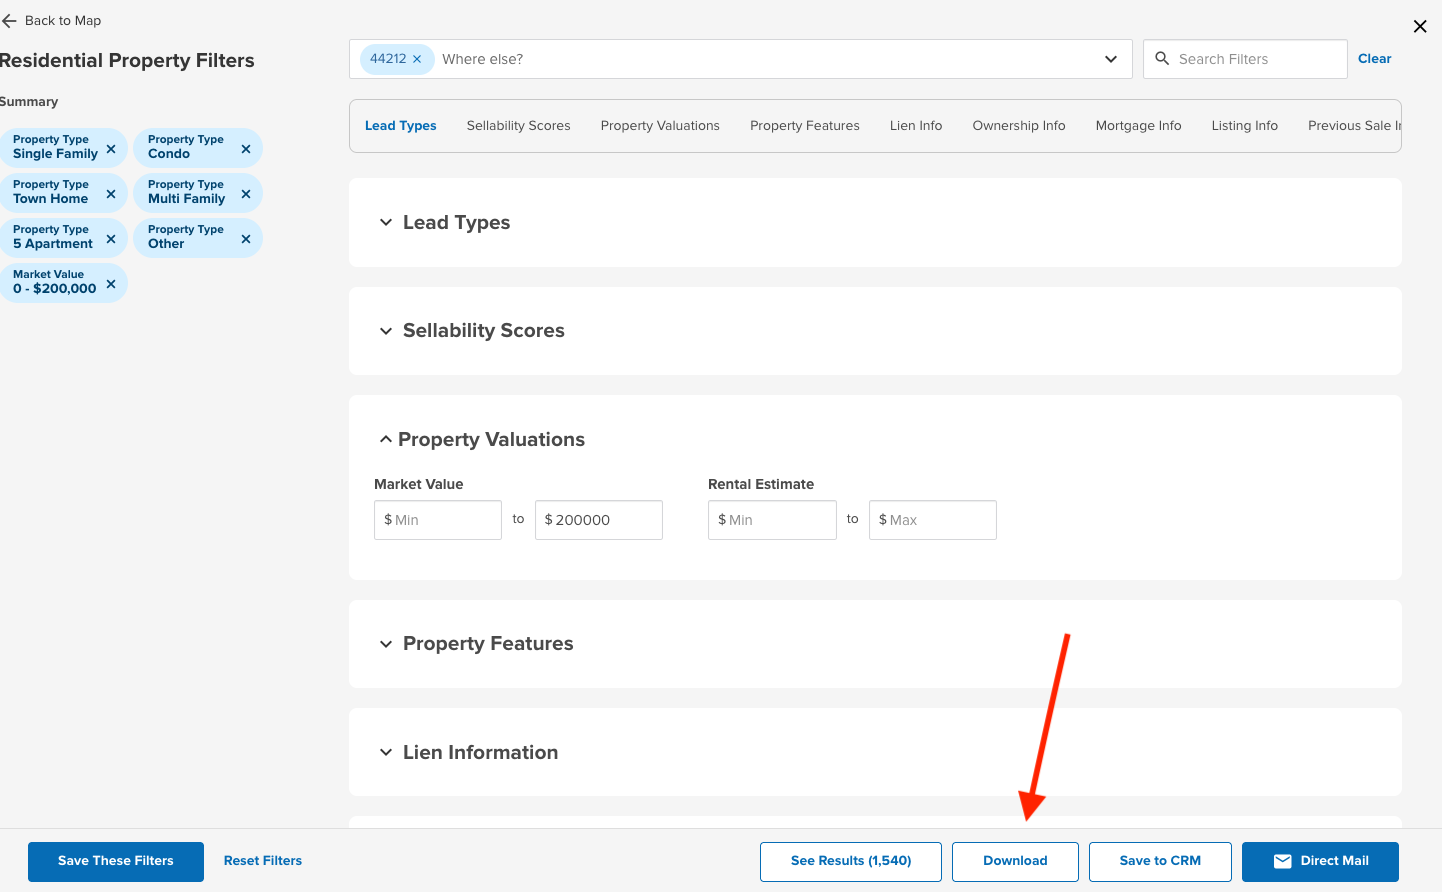
Once your list has been filtered, you can 'DOWNLOAD' your list with the LeadTraced details. You will find the DOWNLOAD option in 2 places.
1. Bottom of the FILTERS page
2. The MY LEADS button (Upper Right Hand Corner of the Screen)
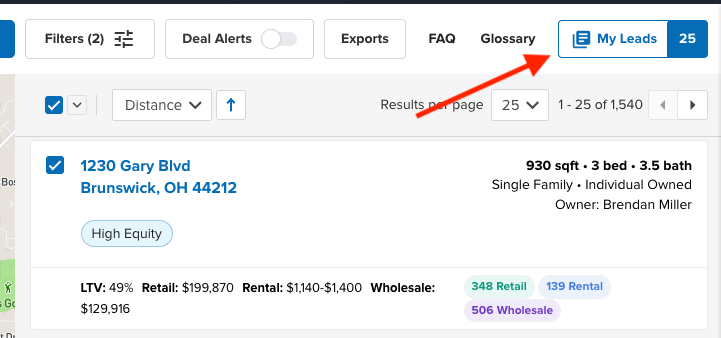

From either location, Click on the DOWNLOAD button.
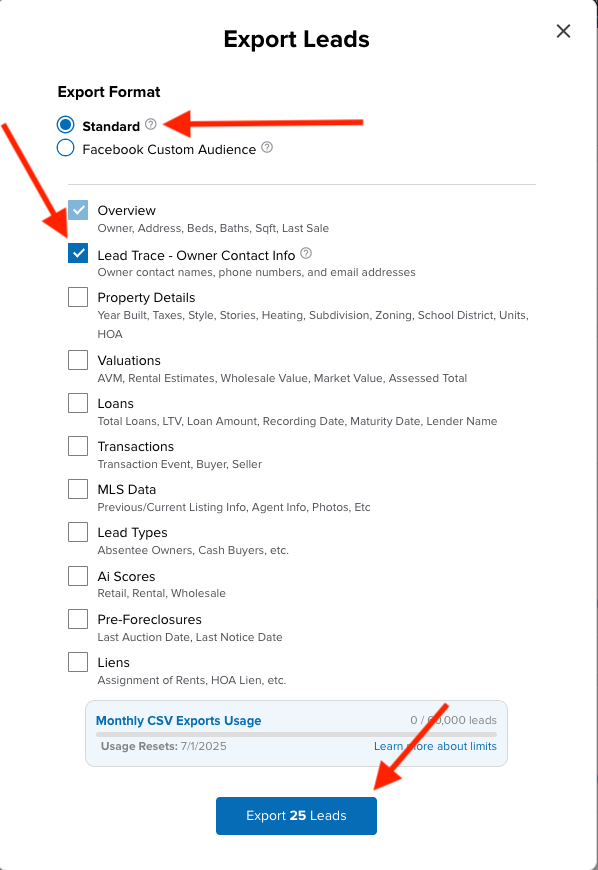
- This will open a Window to select the EXPORT Format and the Details you would like to be included with your Results.
EXPORT FORMAT - Select 'STANDARD'
Then, you can select the details you would like to be included.
PLEASE NOTE: For the LeadTraced details to be included, be sure to select
'LEAD TRACE - OWNER CONTACT INFO'
Once you have selected all of the details you would like to be included, click EXPORT at the bottom of the Window.
Once ready, the file will automatically be DOWNLOADED in your Browser (check the downloads on your computer).
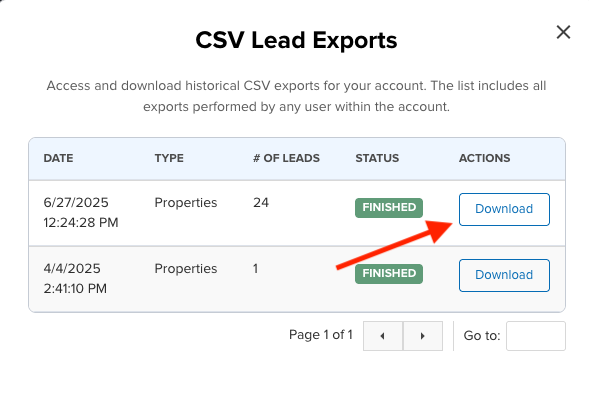
The file will also be delivered in the EXPORTS button at the top of the results list.
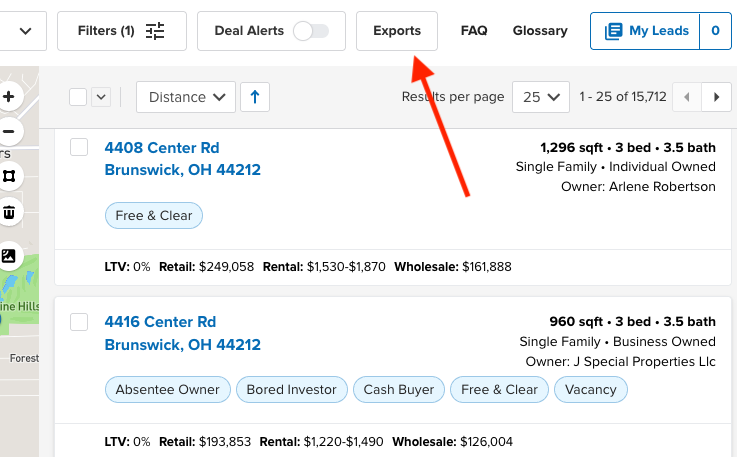
Click on the EXPORTS button, then click on DOWNLOAD. This will download the file on your computer.
Step 2: Import the list into the CRM
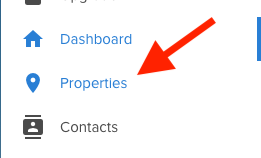
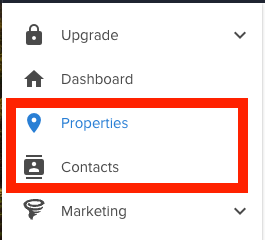
1. To import your list, click on Properties in the Left Navigation toolbar
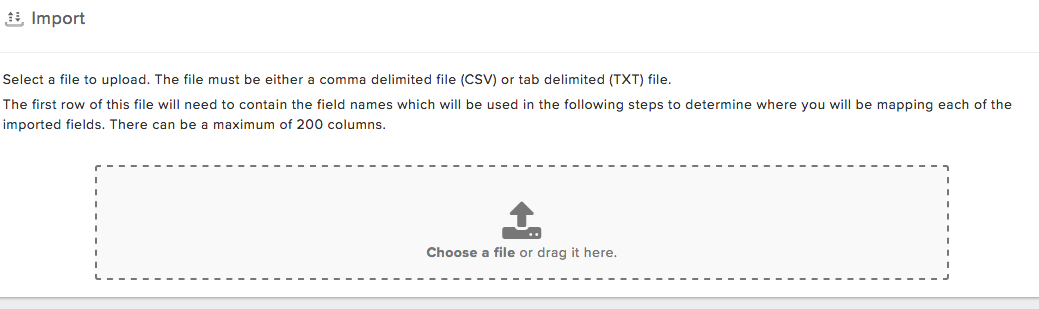
2. Once in the list view of your properties, click on the Import button

3. Next select the file from your computer you would like to import
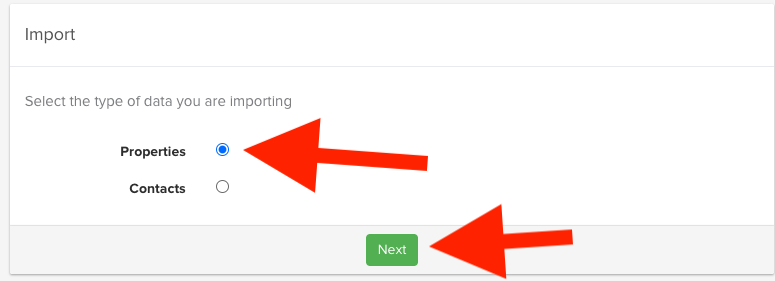
4. Once the import is complete, you will be navigated to the next screen to select what type of files you are importing (Contacts or Properties). Make your selection then hit ‘Next’
**Important to note: if you want the property address and information from the file AS WELL AS the contact information, select Properties**
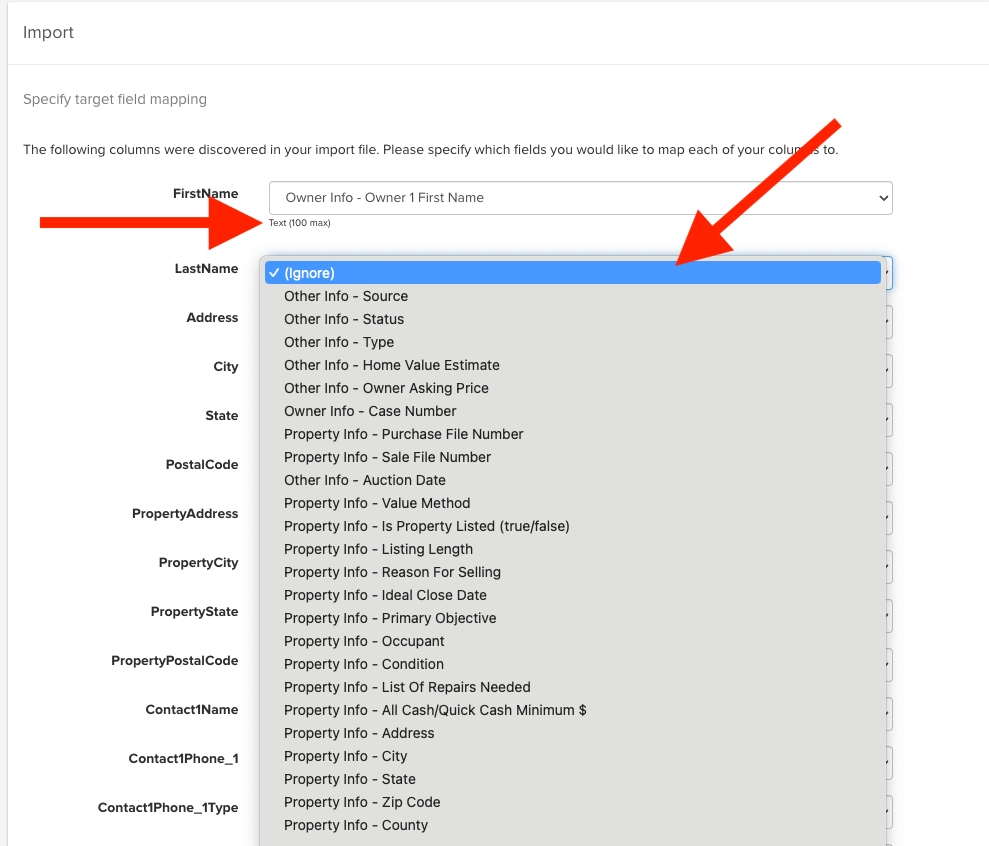
5. Next you will map where you would like the information to go within the Property & Contact File.
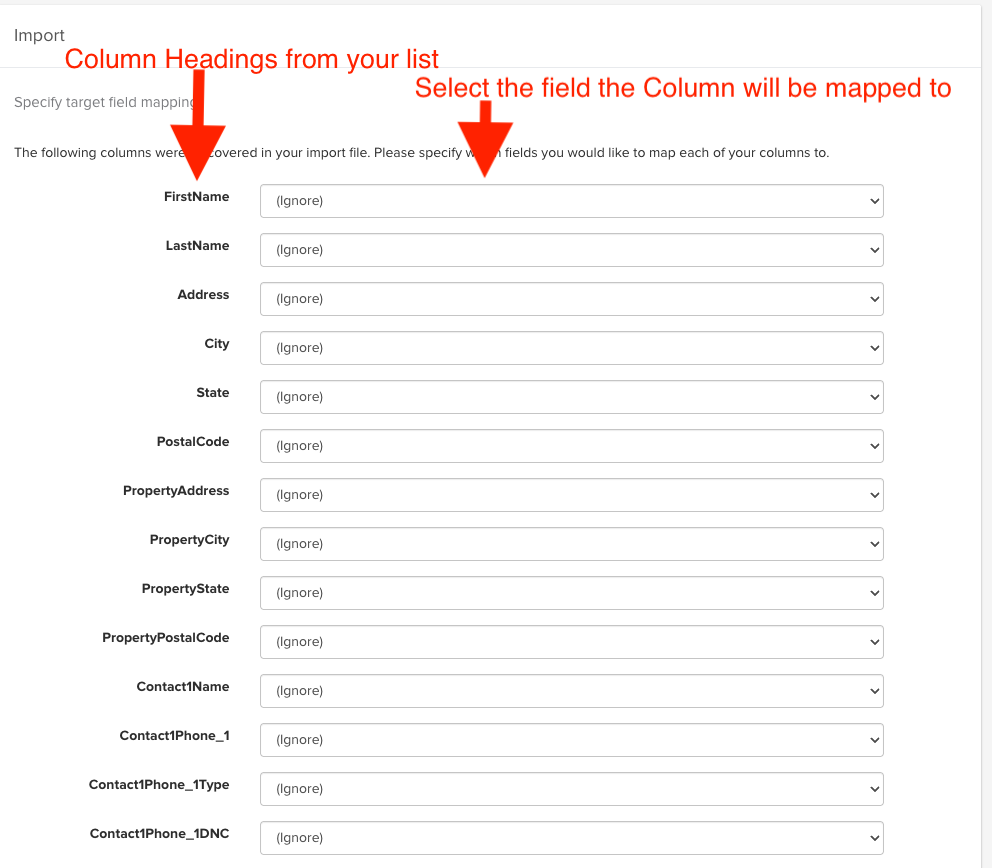
** The Columns showing on the left hand side are from your spreadsheet. You then select a destination from the drop down menu to the right**
Here is the complicated part
As a skiptraced list, you will have more than one phone number, more than one possible contact, and more than one possible email address.
- Any additional contact name, unless obvious on the spreadsheet as a spouse or immediate family member where they can be considered Owner 2 on Import, it is best to leave that information labeled as "Ignore"
- look for Contact 1 Phone 1, Contact 1 Phone 2, Contact 1 Phone 3
--map these as Owner Work, Home, and Mobile phone
- look for Contact 1 Email 1, Contact 1 Email 2
-- map email 1 as Owner Info - Email
-- map email 2 as Custom 1
- Any other potential phone number or email address you may have in the spreadsheet, beyond the intial areas, would need to be mapped as "Custom" fields. You can find these at the bottom of the mapping list.
6. Once you have mapped out where you would like the information to go, you can process the import by clicking on IMPORT.
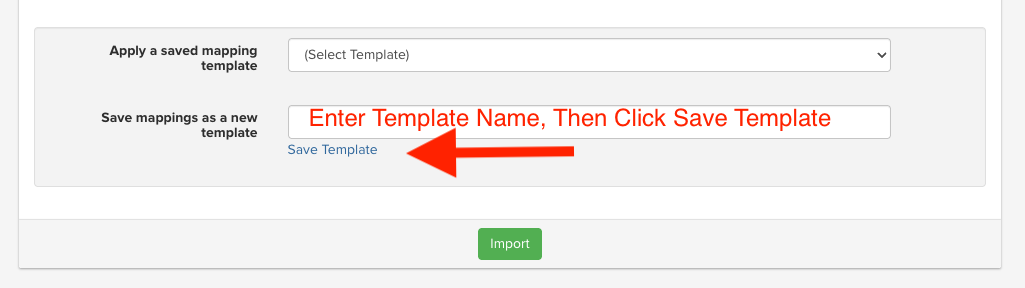
Important Tip: You can save your mapped fields as a template. If you plan to import another list with the same columns, using a template will keep your mappings saved, so you won’t have to re-map each field every time
7. Once completed, the Properties & Contacts will be found in the 'Properties & Contacts' list. You can access this by clicking on PROPERTIES or CONTACTS in the left navigation toolbar.
Josh Tobias
Comments