There are several ways to add specific items to your Rehab Plan/Scope of Work:
1. Importing item details from Home Depot
2. Manually adding in the item details
3. Selecting one of your Saved Favorites
4. Selecting one of our Feature Templates
**Everything you enter into the Rehab Planner will Auto Save
How to add items from Home Depot:
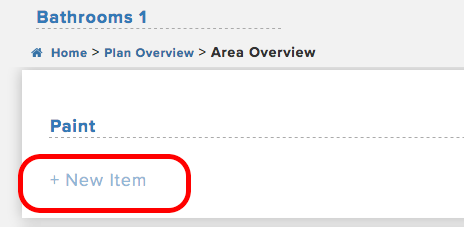
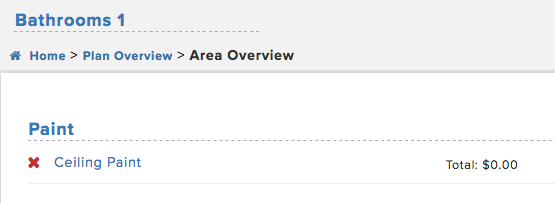
1. Within an Area ( ex. Bathrooms 1) you will have Sections (ex. Paint), items are added directly into a Section. Click on New Item
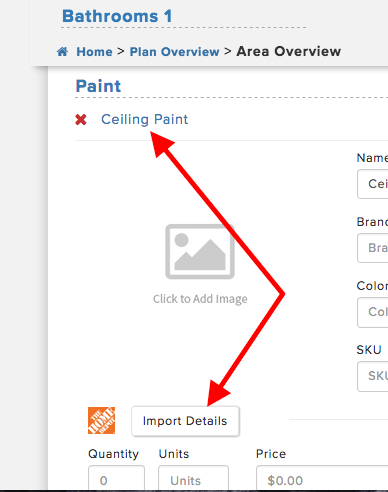
2. Name the item and hit Enter. After hitting Enter you will see the item listed

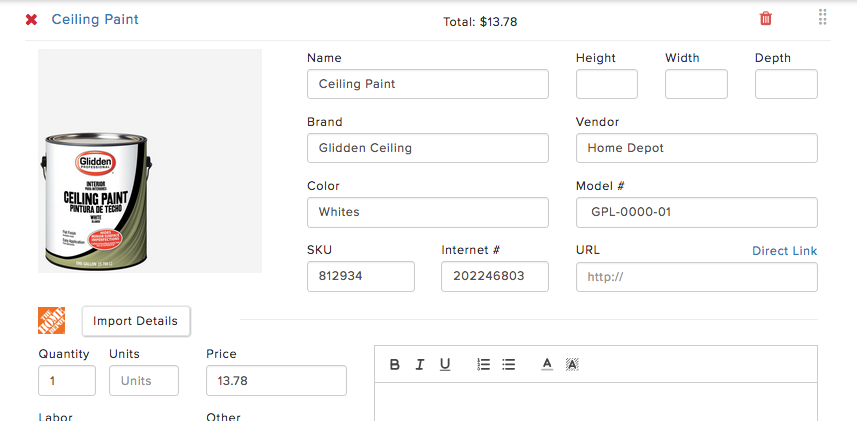
3. Next click on the name the item you just added and click 'Import Details' button
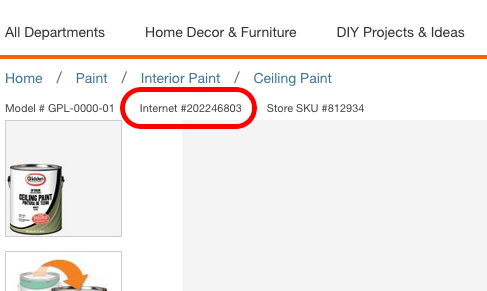
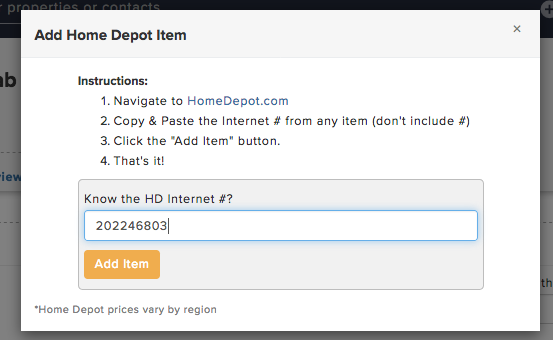
4. In the pop up window enter the Internet# of the item from HomeDepot.com and click Add Item
5. Now you will see all the details for this item imported into your Rehab Plan. Make sure to specify the quantity, add any specific notes, and click on the Red 'X' by the item name to check off the item to include it in the Rehab Plan

Manually Adding an Item:
1. Within an Area ( ex. Bathrooms 1) you will have Sections (ex. Paint), items are added directly into a Section. Click on New Item

2. Name the item and hit Enter. After hitting Enter you will see the item listed
3. Manually add in as many details as you want from a picture, quantity, price, dimensions, brand, notes, etc.
Selecting a Template:
1. When in the Plan Overview area, click on an Area that has (Empty) next to the Area Name (Ex. Bathrooms 2) and a drop down will appear

2. Next click on 'Featured & Favorites' in the drop down (shown above)
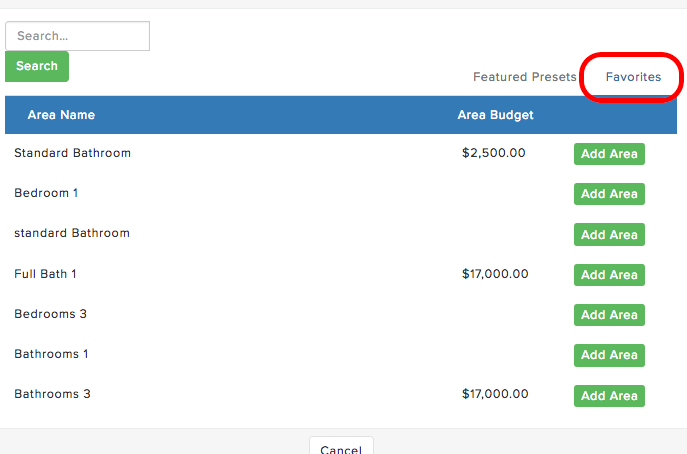
3. In the Pop Up Window click on 'Featured Presets' for all of our Area Templates
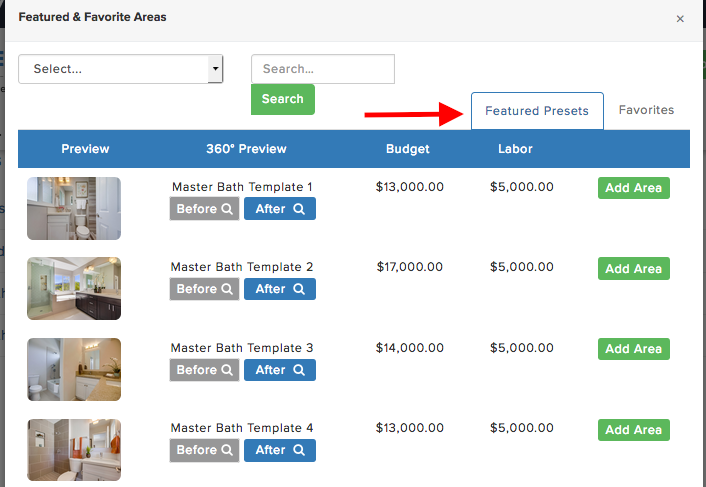
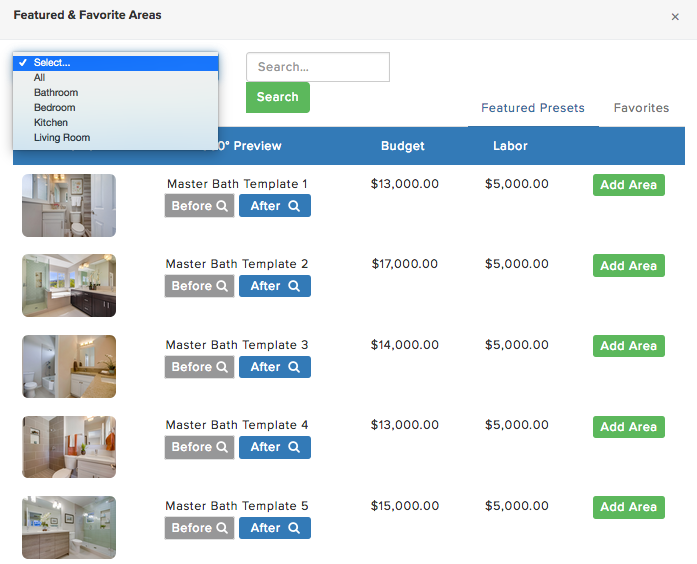
4. In the top left of the Pop Up Window, you can filter the list of templates by Area or just scroll through all the available templates
5. Next select the template of choice by clicking on 'Add Area'

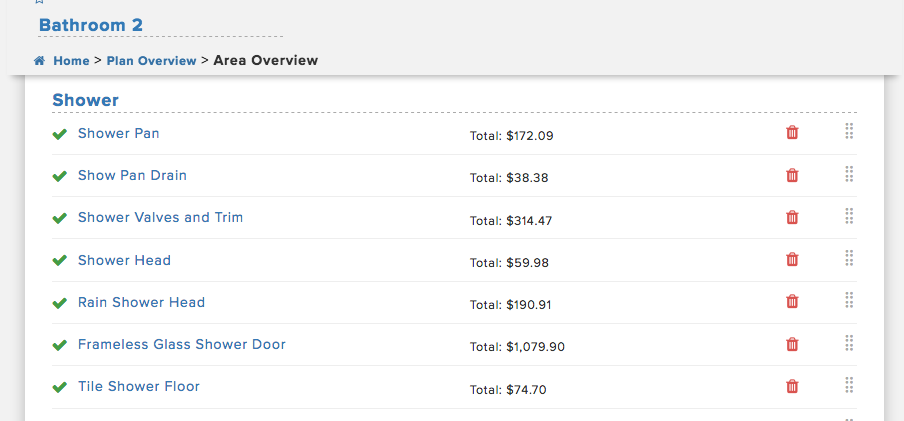
6. Now all the items from that template have been loaded into the Rehab Plan. You can add additional items as well as remove any of the default items added from the template

Selecting a Favorite:
1. When in the Plan Overview area, click on an Area that has (Empty) next to the Area Name (Ex. Bathrooms 2) and a drop down will appear

2. Next click on 'Featured & Favorites' in the drop down (shown above)
3. In the Pop Up Window click on 'Favorites' for all of your Area Favorites
4. In the top left of the Pop Up Window, you can search the list of favorites or just scroll through all the available selections
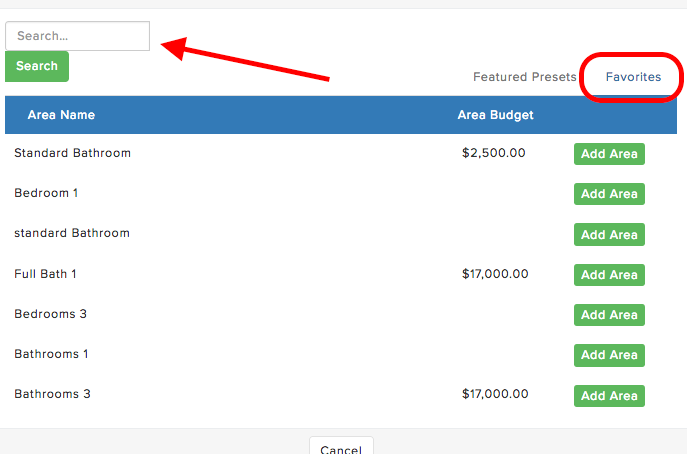
5. Next select the 'Favorite' of choice by clicking on 'Add Area'

6. Now all the items from that saved 'Favorite' have been loaded into the Rehab Plan. You can add additional items as well as remove any of the default items added from the 'Favorite'
Josh Tobias
Comments