Below is a step by step process of how to find and use the Scrum Board.
**Properties and Contacts can both be added to the Scrum Board, this can be done two different ways.**
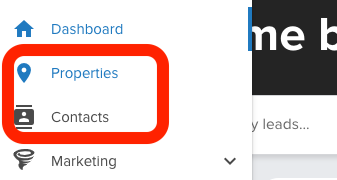
1. You can add a property or contact by selecting the "Properties" or "Contacts" tab from the Side Navigation.
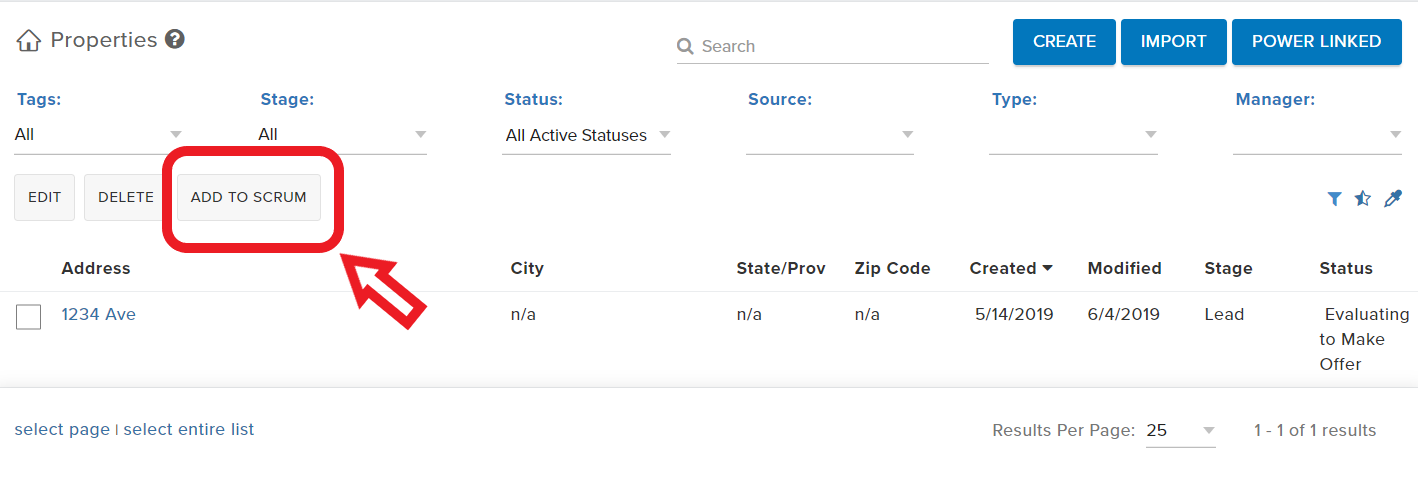
Once in the "Properties" or "Contacts" list, Left Click in the box to the Left of the Contact or Property you would like to add to the Scrum Board
Next click on "Add to Scrum."
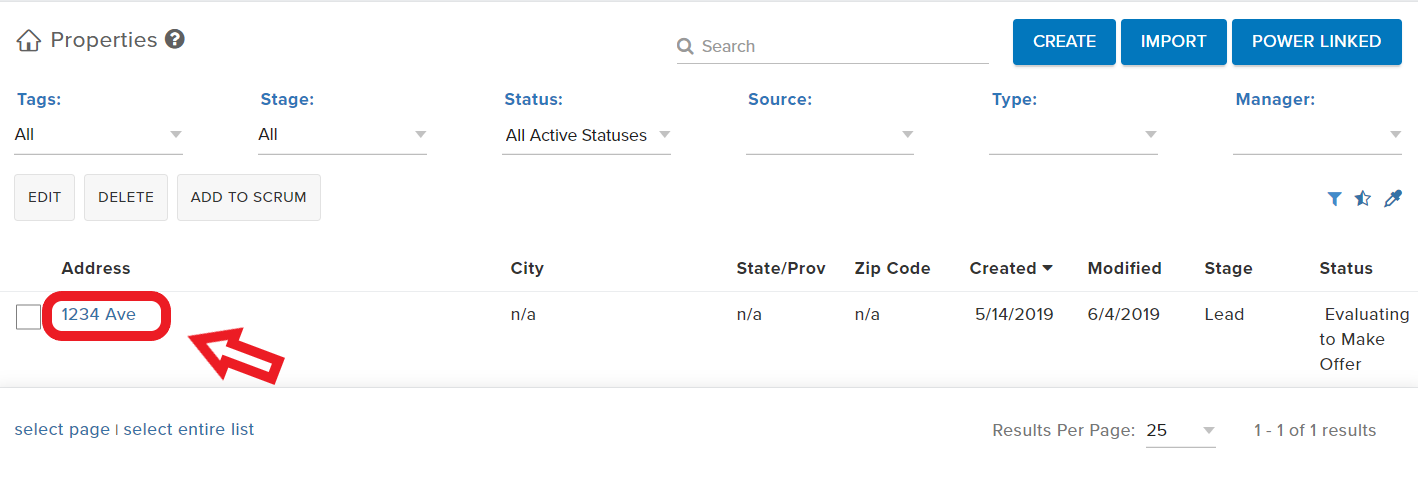
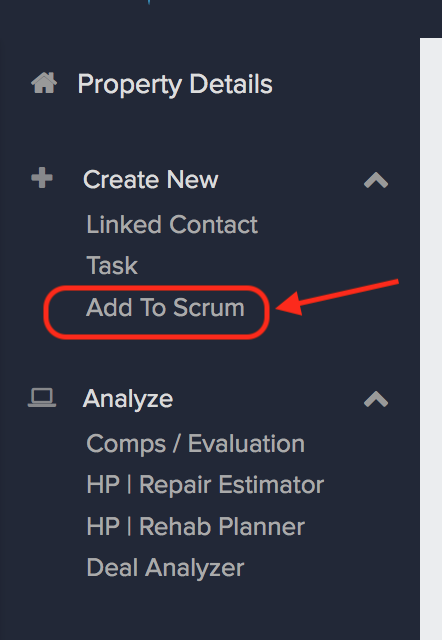
2. "Properties" or "Contacts" can also be added to the scrum by selecting a specific file within those pages.
**To do this, click on a specific individual address or contact you want to add to the scrum.**
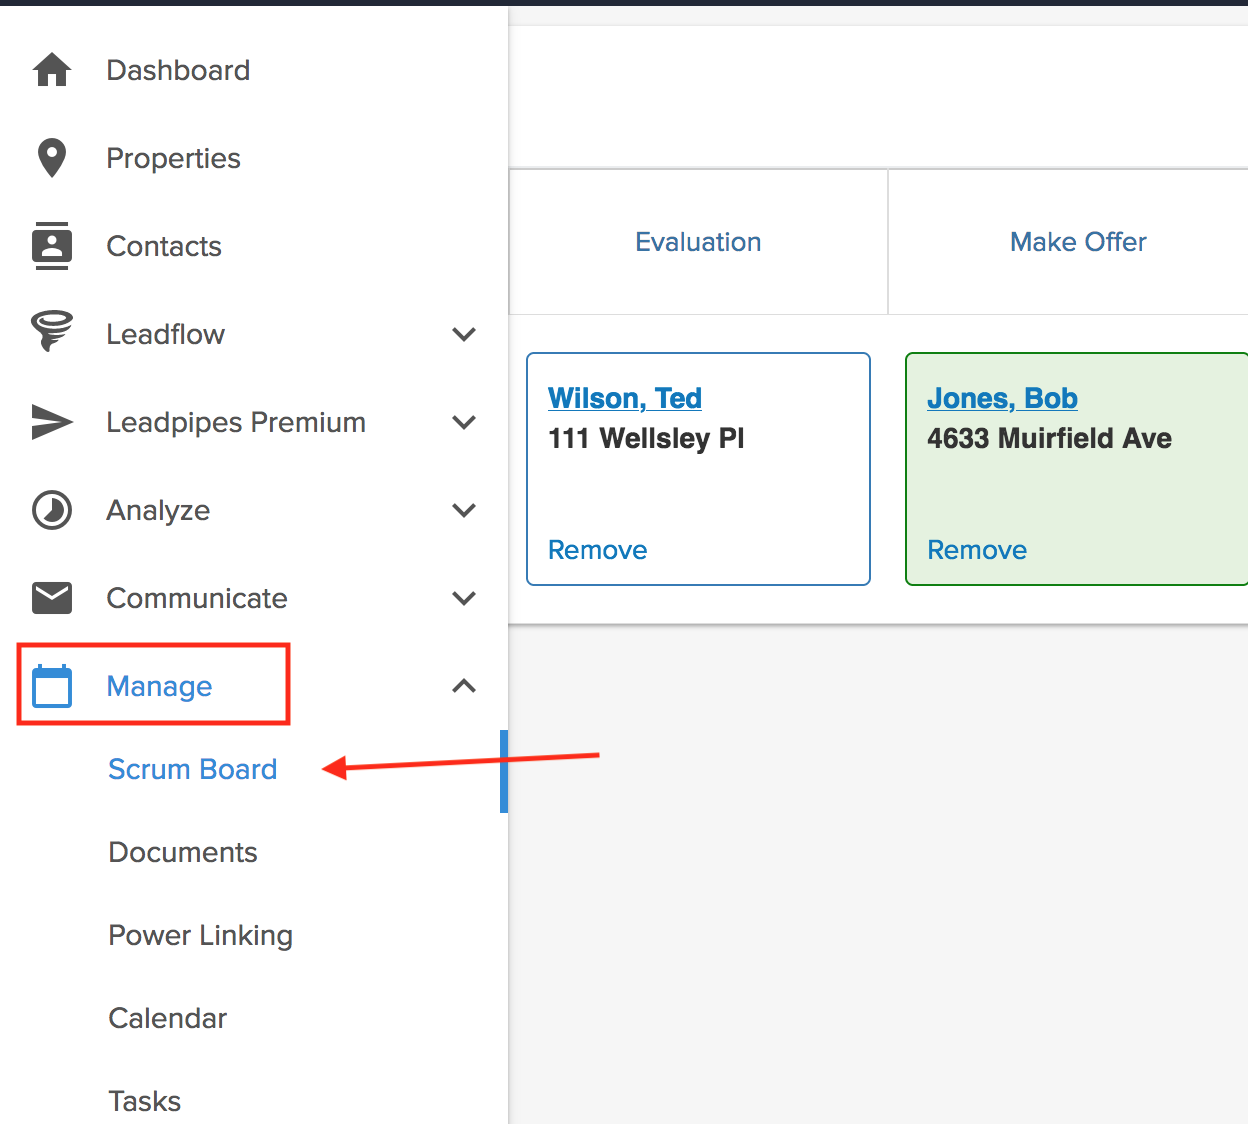
To access your Scrum Board, go to the 'MANAGE' in the Side Navigation and select 'Scrum Board'
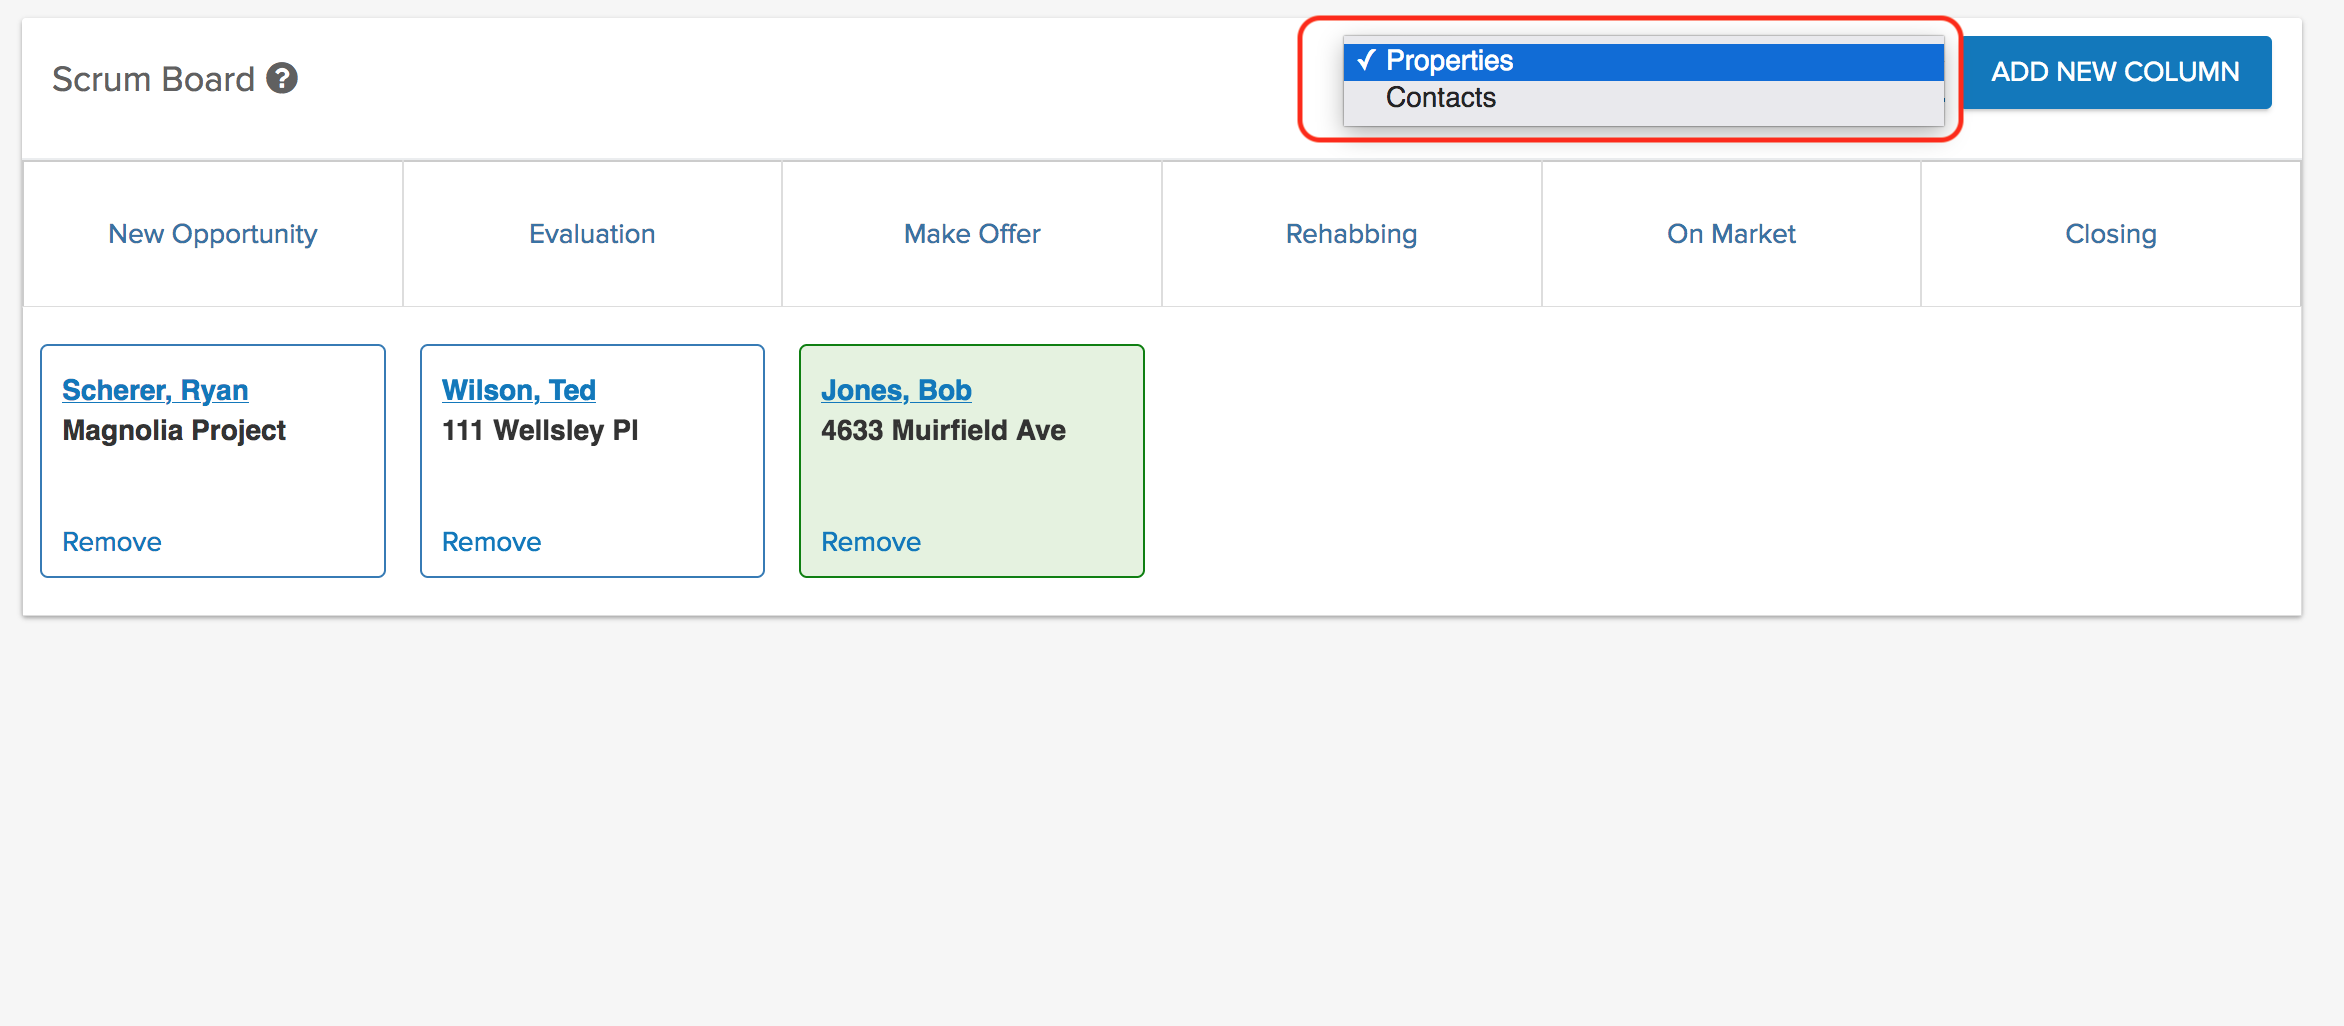
Within your Scrum Board, you can access both your Properties and Contacts by clicking on the drop down arrow at the top of the page.
**Column headings can be edited within the Scrum Board page.**
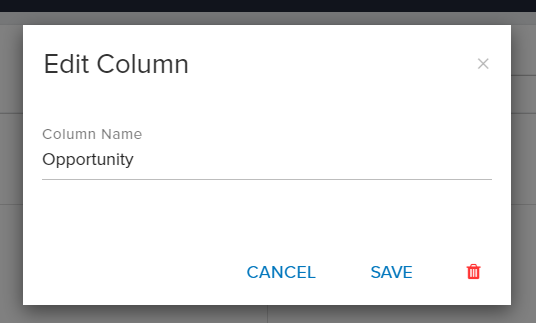
To edit a column heading click on the blue column name you want to change.
Once you click on the column heading, fill out the pop up box that shows up and click "Save".
**Columns can also be deleted.**
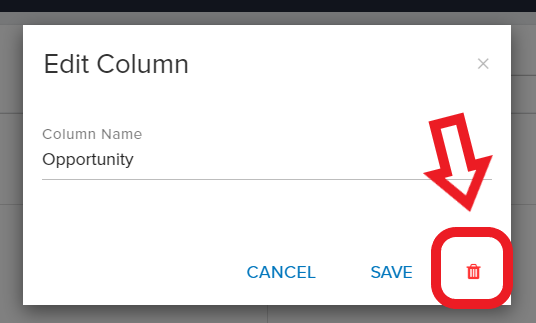
To delete a column, click on the red trash can icon in the bottom right corner of the pop up box.
**Property and Contact files can also be moved between columns.**
To move a Property or Contact file, select the file you want to move and drag it over to the new column you want it in.
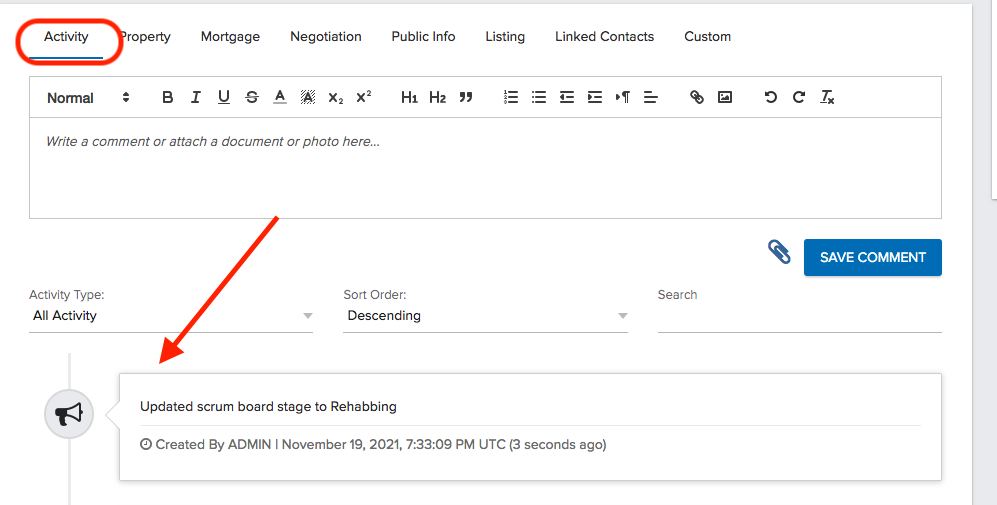
Once a file has been moved to a new column, back in the individual Property or Contact file there will be a note created in the ACTIVITY FEED that will display the updated Scrum status.
Finally, to remove a file from the Scrum Board click "Remove" on the Property or Contact file within a column.



Josh Tobias
Comments